28 May 2026
Machinery paint for tractors and construction machinery - how to get a lasting result
Painting a tractor, an implement or a construction machine is a male part of long than its appearance. The right machinery paint protects the surface from rust and moisture, but also from dirt, oil, grit and daily wear and tear. In agriculture, forestry and construction, paint is therefore a key split of the machine's protection.
Tractors and construction machinery often work in harsh environments. They are exposed to mud, dust, stones, moisture, hydraulic oil, fertiliser, road salt and mechanical wear. That's why it's important to choose the right paint, but also to spend time on cleaning, sanding and priming.- The most common mistake when painting a tractor or machine is to be in too much of a hurry. A good machinery paint makes a large difference, of course, but if you're sloppy with the preparation, it won't help. It's the basic job that determines how long it will bracket," says Stefan Ekblad, range developer at Olsson Parts.
Why should you repaint a tractor or construction machine?
There are several reasons for repainting or touching up a machine.
- Protects against rust and moisture. When the paint on a tractor or construction machine is damaged, moisture can get ina and rust can form. If left unchecked, the damage will spread - and be more expensive to repair.
- Better overall appearance. Painting a tractor, implement or construction machine with the right machinery paint gives a well-kept impression - and higher resale value.
- Prevents large renovations. Touching up small rust and scratches in time is an inexpensive way to avoid costly renovations at the front.
When is it time to paint the machine?
It is not always necessary to repaint the whole machine. Often it is enough to touch up exposed splits.Common signs that it is time to paint are:
- paint flaking or peeling
- rust stains
- scratches down to the metal
- faded or matted paint
- damage from stone chips
- worn surfaces on footsteps, rims, buckets or implement couplers
- previous repairs where the metal is poorly protected
On tractors, it's common to paint the engine hood, fenders, rims, chassis, implements and front loader parts. On construction machinery, buckets, booms, implement couplers, counterweights, footsteps and exposed edges are particularly common areas.
How do I select the right machinery paint for the job?
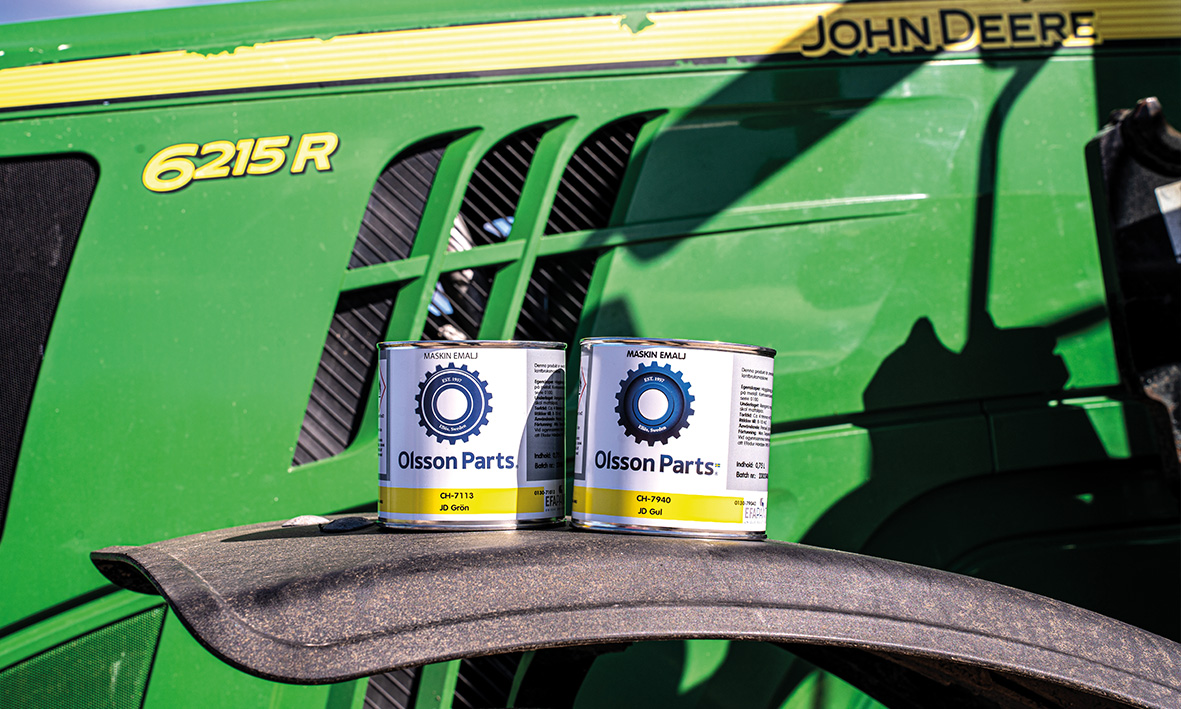
The machinery paint you choose depends on what you are painting and the environment in which the machine is used. Different vehicles have different requirements. A tractor used in agriculture is exposed to different stresses than, for example, an excavator on a road construction site.Machinery paint for tractorsWhen painting tractors, both durability and colour are crucial. Many people want to container an appearance close to the original colour, especially when renovating older tractors. In this case, the right tractor colour is important to get the overall look right. At the same time, the machinery paint needs to withstand everyday use. A tractor is often used in moisture, soil, dust, fertiliser and changing temperatures. For best results, combine the paint with careful undercoating and the right primer on clean metal.
Paint for construction machinery
Construction machinery is subject to even more mechanical wear and tear. Gravel, rocks, mud, vibrations and weather mean that machinery paint has to withstand really tough conditions. When painting a construction machine - whether it's an excavator, wheel loader or dump truck - it's especially important to remove loose paint, rust and dirt before painting. If you paint over old damage without pre-treatment, the new paint won't bracket it for very long and you'll have to redo the painting job.
Touch-up paint or a whole repainting process: If the machine is otherwise in good condition, it may be enough to just touch up the paint. This is particularly useful for tools, rims, buckets, chassis parts and small areas of rust. If the paint is very faded, uneven or damaged over large areas, a more extensive repainting may be a better option. While it requires more work, it also gives a smoother and more professional result.Keep this in mind when painting your machineA good result always starts with a good base coat. The actual painting is only a split of the job.
1. Wash the machine properly
Begin by washing away mud, dust, soil, oil and other dirt. Paint mounts poorly on a dirty surface. Be especially careful around the engine compartment, hydraulics, hinges, rims and implement couplers where grease and oil often accumulate. Allow the machine to wipe thoroughly before continuing.
2. Degrease the surface
Even if the surface looks clean, there may be grease, wax, silicone or oil residues left behind. Therefore, use degreasing before sanding and painting. This will reduce the risk of the paint peeling, cracking or becoming poorly mounted.
3. Removing rust and loose paint
Rust and loose paint must be removed. Use a wire brush, abrasive cloth, sander or blast cleaning depending on how damaged the surface is. If you paint directly on top of rust or flaking paint, the problem will usually return quickly.
4. Sand the surface matt
A bright surface makes it harder for the new paint to mount. Therefore, sand the surface to make it mat, so that both the primer and the machinery paint mount better. It doesn't always have to be a heavy sanding, but the surface should not be bright when you paint. NOTE! When you have finished sanding, all sanding dust should be carefully wiped away.
5. Use primer on clean metal
On clean metal, use a primer that is suitable for the material. The primer helps the topcoat to mount and provides better protection against rust. This is especially important on surfaces that are exposed to moisture, stone chipping and mechanical wear.
6. Painting in the right environment
Paint in an environment that is as dry, dust-free and well-ventilated as possible. Avoid painting in rain, fog, direct sunlight, strong bladders or when it is too cold. The wrong temperature or high humidity can affect drying time, final result and durability.
7. Apply several thin coats
It is better to apply several thin coats than one thick one. Too much paint at once can result in both an uneven surface and a long drying time. Always follow the paint's recommended drying time between coats.
8. Let the paint harden before using the machine hard
Paint may feel dry on the surface before it has fully hardened. Therefore, wait until the paint has had enough time to harden before washing, fitting and heavy use. This is especially important on footsteps, buckets, rims and other splits that are subject to rapid wear.
What do you need to paint a machine?
To get a good result, you need more than just paint. The right accessories make the work easier and the result better.Paint and treatment
- Machine paint or tractor paint in the right colour
- Primer or anti-corrosion primer
- Special hardener (depending on the paint system)
- Special thinner or thinner
- Degreasing
- Anti-corrosion products if neededTools
- Sandpaper or abrasive cloth
- Sander for large surfaces
- Wire brush
- Brush
- Roller
- Paint sprayer for large painting jobs
- Mixing container
- Tubular pins
- Masking tape
- Cover tape
- Rags or wiping paperProtective equipment
- Protective gloves
- Goggles
- Respiratory protection when sanding and spray painting
- Work clothes
- Good ventilation
Brush roller or spray - what to choose?
Which method is best depends on the surface and the result you want.
- Brushes are good for small surfaces, tools, buckets, chassis parts and touch-up painting.
- Rollers work well on large, flat surfaces where the finish doesn't need to be completely smooth. It can be a good option for implements, flatbeds, buckets and some machine parts.
- Spray painting usually gives the smoothest finish. It is suitable for repainting large surfaces such as engine hoods, fenders or whole machines. Spray painting requires more preparation, the right equipment, extra ventilation and protective equipment.
Common mistakes when painting tractors and construction machinery
- Skipping the cleaning
Paint mounts poorly to grease, oil and dirt. Cleaning and degreasing is therefore one of the most important steps.
- Painting directly on rust
Rust left under the paint often continues to spread. Remove rust as thoroughly as possible before painting.
- Do not use primer
On clean metal, primer is needed for good mounts and rust protection. If you skip the primer, the end result may be poorer.
- Applying too thick layers
Thick layers can result in both a long drying time and a poorer end result with colour lines and an uneven surface. Instead, apply several thin coats.
- Using the machine too early
Paint may feel dry without being fully cured. Give it time before using the machine heavily again.
How to make paint last longer
Once the machine is painted, it's important to take care of the surface. Wash off mud, salt, fertiliser and oil regularly. Check exposed splits such as footsteps, rims, implement couplers, buckets and edges.Minor damage should be touched up as soon as possible. This reduces the risk of rust and keeps the machine in better condition over time.